
Breeding rabbits is a very profitable and interesting activity. With minimal investment at home, you can make a fairly large farm of these cute ears. Rabbits multiply and grow quickly, which undoubtedly brings considerable profit. However, these cute and useful animals are quite demanding in maintenance. Habitat plays an important role. How they will grow and develop depends on the comfort of the residents. Today, you can both buy a house for animals and make cages for rabbits with your own hands, moreover, it is cheaper and not so difficult due to the simple design.
Purpose and construction of a rabbit hutch
Rabbit hutches are buildings where rabbit houses are located, or simply cages for animals placed together (indoors or outdoors).
A rabbit hutch is being built in accordance with DBN B.2.2-1-95. BUILDINGS AND STRUCTURES FOR ANIMAL BREEDING.
Maintaining comfortable living conditions for rabbits:
- Temperature level + 10⁰С – + 20⁰С
- Illumination 30 – 40 lux
- Daylight lasts 16-18 hours
- Humidity level 60 – 75%
- The speed of the air flow is 0.3 m / s
- Air composition: ammonia less than 0.026%, carbon dioxide less than 0.5%
In particular, to maintain comfortable conditions, rabbit farms must meet the following requirements:
- Convenience in service.
- The presence of a system for removing feces, followed by their disposal.
- When the accommodation is closed, it is equipped with lighting, ventilation and heating (for winter).
Usually, buildings for rabbit hutches are made one-story, rectangular.
Placement of cages – in rows (width between them – 1.5 m) and in tiers (2 – 3).
In practice, rabbit houses are allocated frame-type sheds for the rabbit hutch, and part of the building is allocated for economic needs and storage for fodder.

Common designs and their features
Rabbit farms use different types of cages, which depends on the location of the rabbitry, the type of rabbits and the technical features of the design.
Single-level and multi-level structures
Single-tier cages . Single-tier designs – all cages are in one row. They are placed at 70-80 cm from the ground level and covered with roofing material (slate, tile, roofing material, corrugated board).
To facilitate the cleaning of feces, a single-story cage is equipped with a special tray under the bottom, which is made in the form of a drain.
Multi-tiered cages . Multi-level models can be found as often as possible, because they save a lot of space. They have a two-story or three-story building type, where an equal number of departments are located. Such structures are called sheds.
The best scheme is a two-tier structure, which is quite practical in serving furry animals.
Sheds are placed 50-60 cm above the floor level in the building, 70-75 cm on the street. They are equipped with pitched roofs. Metal or plastic pallets are attached between the floors and under the bottom. They are also placed inside the cages, but this is not always practical, because then the bedding needs frequent replacement.
Cage for adult rabbits
For adult rabbits, housing can be built from various materials, but the facade is best made of mesh. The optimal minimum parameters of one department are not less than 60x60x100 cm.
A possible variant of block placement is the joint union of two cages separated by a wall. You can make the common wall removable, which will be useful during the steaming period. It is better to equip the bottom of the cages with mesh rails or wooden bars. It is necessary to ensure unimpeded movement of the ears in the houses, because an active lifestyle affects their development.
Family cage
The family house for the rabbit consists of three compartments. A male is placed in the central section, and females in the side sections. There are passages with latches between departments. At the moment of mating, the rabbits are sent one by one to the rabbit-producer.
These structures are often used for breeding purebred rabbits, as it is possible to select suitable animals in advance and monitor the upcoming breeding.
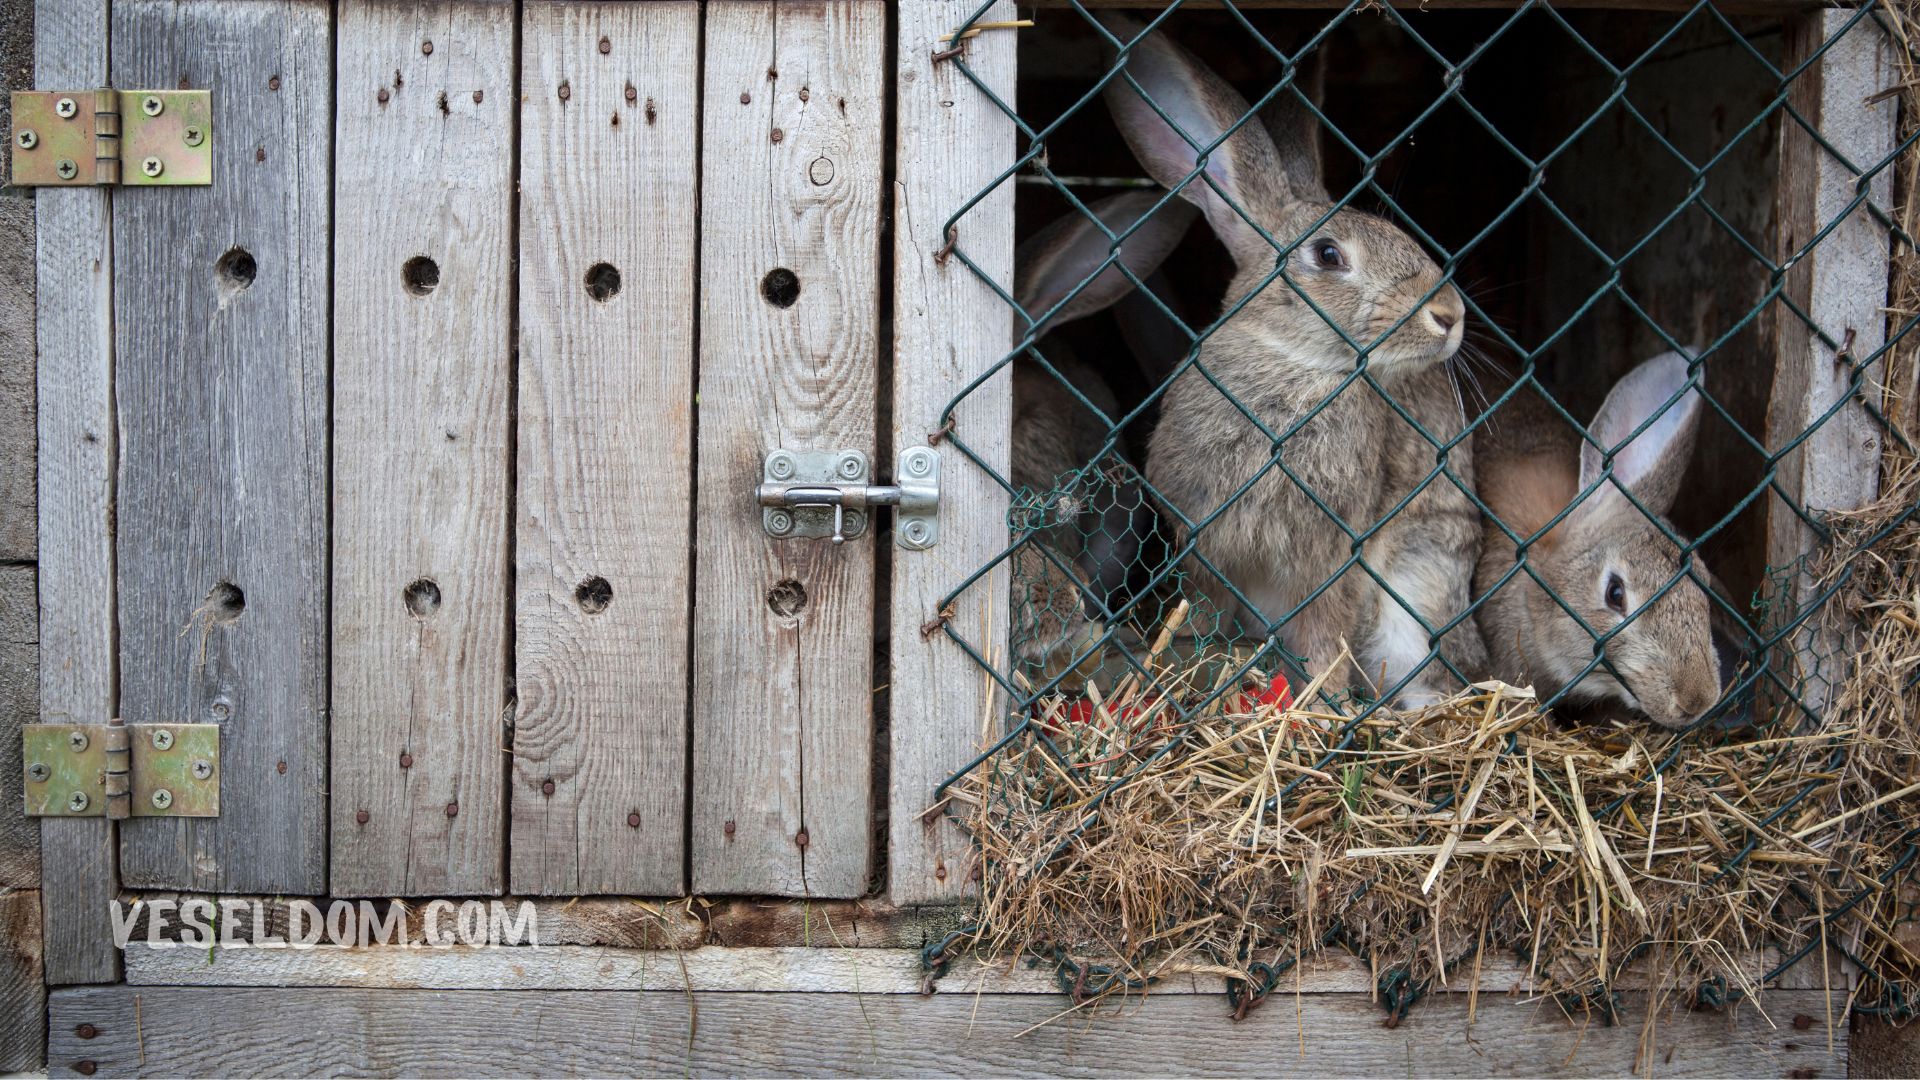
Cages for protection
Rooms for brooding are equipped with separate compartments or take into account a place for a portable queen nest – a brood box.
In the first case, the nest compartment is combined with the housing almost completely (walls, removable bottom and ceiling). Warmth is provided everywhere and there are no through spans. The bottom in the aft section is made of wood or metal mesh.
The second option is the use of a portable broodstock. Usually, a box is made under it, closed on all sides, in which an entrance is cut so that the rabbit can pass to the cubs. Such a device can be placed in any cage. It also provides a side door for access to the rabbit hutch.
Self-made matochnik is easily transported. It is easy to clean and replace the litter. In winter, queens are heated with an electric heater, light bulbs or a “warm floor” (a heating cable is placed under the nest).
The recommended dimensions of the place for rabbit births are from 100x60x55 cm (front wall) and 40 cm (back wall). A stationary brood box is made with a width of 35 cm.
Cages for young animals are group cages
Cages for young rabbits are made at the rate of 8-20 rabbits at the same time at the age of 3-5 months. Housing area – 0.25-0.3 square meters. per ear, height – from 35 cm.
The floor is usually made of wood, and on top it is recommended to cover it with a grid with cells – 1.6×4.0 cm. You can make the entire floor from a grid, but then you need to equip eared babies with a place to warm up. Dwellings are usually insulated with hay or straw.
A cage with an enclosure for walking
A cage with a walking area is suitable for housing young rabbits or for rabbits used for breeding. The arrangement of such housing is quite well thought out. Such a rabbit house consists of two sections – a closed zone and an open enclosure made of mesh. They make a gap between the branches. Animals in such buildings actively move, which has a beneficial effect on their health.
The sizes of the cages are different, but in practice the depth of the closed compartment is 60-65 cm, and the walking area is 80-100 cm.
Cage according to the Mikhailov method
The kingdom according to Mykhailo provides housing, where there are 2-4 compartments for animals with an impenetrable collection for excrement. Usually, such structures are made of one or two floors. Two adult pets can be kept in such a one-story cage.
Updated models “Yurta” and “Quarta” are intended for 2 sukrol rabbits or for young offspring. The disadvantage of cages is their high cost.
Cages for Zolotukhina rabbits
Zolotukhina’s multi-story rabbit hutch allows living conditions to be closer to natural ones, so rabbits are always comfortable.
Features of Zolotukhina houses:
- multi-level structures;
- the floor is only made of wooden boards or plywood;
- a partition instead of a permanent queen;
- built-in feeder.
Where to place cages
In nature, rabbits dig small holes for living. Therefore, breeding at home does not require a lot of space. Cage placement in this case is the most rational solution. But earwigs are very sensitive to the conditions in which they live. Rabbits are afraid of high humidity and drafts. Their health is adversely affected by the presence of harmful substances in the air.
Therefore, choosing a place for a rabbit hutch is especially important. It should be on a hill with natural (trees or hedges) or specially created protection (walls, fence) from the wind. It is necessary to take into account the level of meltwater in advance to exclude flooding.
There are three types of cage placement:
- Indoors all year round. Since rabbits are all the time in a closed room, it is worth taking care of the microclimate inside the building – install ventilation and lighting, heating for the winter months to maintain the required indicators.
- The whole year on the street. The location of cages on the street is considered optimal. It hardens rabbits, provokes the growth of thick fur, and improves the performance of females.
- Combined location (indoors in the cold season and outdoors in the summer). For combined accommodation, you should take care of portable structures. They allow you to move the rabbit hutch according to the weather conditions.
Construction features
First, it is necessary to solve the issue with the location of the cages (street, under a shed, shed), choose the appropriate model of the rabbit hutch (one tier, many tiers, Mykhailo’s or Zolotukhin’s mini-farm), and select the intended purpose (for an adult tribe, for a growing herd, on families, families).
The construction of a rabbit hutch begins with the selection of quality materials. For the manufacture of walls, a grid is suitable – “chain” or welded. You can also take wood, plasterboard, plywood.
The mesh on the floor of the cages is also used. The mesh bottom with cells of 2×2 cm is the optimal solution, as it provides ventilation, while excrement does not collect. But there are also wooden and plastic floors. If you make a solid floor from wooden boards, you must lay a slatted floor on top. The recommended distance between the rails is 1.5 cm.
Slate, roofing material, ondulin, profile are suitable for roofing. Cage doors are often made of galvanized mesh. The size is selected individually, taking into account the weight and breed of animals.
If the animals will be permanently in the building, they can make houses that will bring them closer to natural conditions, and the stay will be more comfortable.
A box is usually made for a mobile broodstock. The floor is solid. The nest compartment can be simply separated by a partition with a 20 cm slot.
On the street, houses must be placed on beams, 80 cm from the ground. This creates protection against rats and pets. In addition, such a location is convenient for maintenance.
Drinkers and feeders should be provided as retractable, hinged with external placement. This will protect the inventory from contamination by animals.
Video of step-by-step construction of a cage for rabbits with dimensions with your own hands:
Tools and materials
To independently manufacture cages for rabbits, you need to take care of the tools and materials with which it will be possible to do this.
Basic tools:
- ripping saw
- hammer
- a corner
- pliers
- plane
- screwdriver
- slate or pencil
- bulgarian
- elastic glue
- perforator
- sharp metal scissors
- riveter
- roulette
Material for manufacturing:
- iron corners
- galvanized iron
- special non-galvanized mesh with small cells (2 cm * 2 cm)
- soft or hard roofing material
- beams for the base, frame, supports
- wooden boards
- metal grid and rails (width≈3 cm)
- spingalets
- self-tapping screws
- nails
- fastening
- foam for insulation
ready ventilation or pipe
Calculation of optimal cell sizes
The optimal size is 150x70x70 cm.
The height of the dwelling is at least 45 centimeters.
The size of the queen: 50x36x30-34 cm.
The size of the grid for the walls is 2.4 x .4 cm cells, for the floor – 1.6 x 4.8 cm cells.
| Name | Quantity per unit area | Area norm for 1 rabbit, sq. m. | Parameters Length, see | Parameters Width, cm |
|---|---|---|---|---|
| The main mass of animals | ||||
| Cage for 2 sections | 1 | 0.5 – 0.7 | 60 – 70 | 90 |
| Uterine block | 0.2 | 50 | 35 | |
| Group cells (shades) | ||||
| For young individuals | 6 | 0.1 | 90 | 65 |
| For reproductive individuals: | ||||
| – rabbits | 4 | 0.2 | 90 | 65 |
| – producer rabbits | 1 | 0.6 | 90 | 65 |
| Individual cells (shades) | ||||
| For young individuals | 1 | 0.1 – 0.2 | 30 – 40 | 45 |
| For reproductive young | 12 | 0.2 – 0.3 | 50 – 70 | 45 |
Do-it-yourself rabbit cage step-by-step instructions
For example, we will show how to build a house for a rabbit with a simple structure step by step. It can be made even with no experience.
For production you will need:
- Bars and rails made of wood
- plywood boards
- Metal network
- Bitumen tile
- Orgsklo
Assembling the frame of the rabbit cage . To ensure proper maintenance and safety of the animal, the cage is placed on a stand. The bottom is equipped with an additional shelf for storing food.
For the stand, a beam of 6 × 6 cm and a length of 85 cm is used.
- We process the rail edges so that the animal is not injured.
- We attach the support for the shelf and the frame to the racks of the base.
- At the top of the structure, we screw four boards with self-tapping screws, but make sure that there is no skew and uneven corners.
- At the top of the frame, we cut a circle and attach it with a loop to the cut place (for an additional section).
- Inside, we attach additional rails to ensure the stability of the structure.
- In the corners of the shields, we cut holes for the legs of the support.
Assembly of the main part . It is most convenient to assemble the cage from the front.
- First, we make frame sashes under the door.
- Using furniture dowels, self-tapping screws and rails, we make a rectangular frame.
- We cut a groove so that the door can move vertically.
- The frame for the partition is cut to a size that slightly exceeds the height of the door opening.
- The dowels are attached from the outside, and then the door is inserted into its place, the dowels are inserted into the slits made at an angle on the side.
- Sections are made from rails on the sides of the door frame.
- Make up the back side and side walls.
- The roof rafters are made of eight rails, carved at an acute angle. They are connected by hooking the sharp ends of the parts in pairs, after which they are fixed with self-tapping screws. Then the staples are removed, and the rafters are attached to the base of the roof.
- Triangular parts are cut from the plywood sheet, which close the space from the door frame to the roof. They are fixed with self-tapping screws to the central rafters, as indicated in the attached diagram.
- The roof is covered with plywood, cutting it as shown in the drawing.
- The rear slope of the roof is made with a cutout installed on a piano hinge. The folding part on the roof will help in the work to have constant access to the inside of the house.
- To connect the central part of the roof slope with the side parts, we make small compartments in the corners.
- After connecting the base, the structure of the house is covered with oil, dried, and painted with several layers of oil paint. Although this paint takes longer to dry, it best protects wood from moisture.

Cladding of walls and roof.
- All the walls inside, and with them the doors, are independently covered with a metal mesh with a cell size of 2.5 × 2.5 cm. The mesh is fastened using a screwdriver and self-tapping screws. First, the ends are closed, and then the front wall is made above the door opening.
- In order to make such housing easier to move, folding handles should be built on the sides of the frame frame.
- To fix the narrow folding part, a latch is made on the front board at the top of the support frame.
- A pin is attached to the cage door.
- To protect the piano hinge on the folding part from rust, it is covered with universal adhesive tape. It is glued on top of the metal.
- The roof is sheathed with bitumen tiles. This work is performed with a stapler and staples made of metal 0.8 centimeters in size.
- The ridge of the roof is made of a bituminous sheet, which is fixed with the help of construction glue.
- Plexiglas is cut to the same size as the side wall, and a pin is fixed on top. If it will be felt or it will rain, then such an element will perfectly protect against them. Plexiglas is placed on the frame, and then fixed with furniture pegs, and at the top – with the help of a pin latch in a pre-drilled hole.
- A small ladder is made for rabbits. After processing with oil, all parts are painted, dried and placed in the middle of the structure.
After the paint has completely dried, the house for the rabbit is moved to the chosen place, food is prepared and inhabited.
As you can see, this type of cage is quite easy to manufacture. She looks great. And all its advantages will be appreciated during operation.
Nuances in making a rabbit hutch
Nuances for those who make a rabbit hutch independently for the first time:
- do not take a cheap fastener;
- carefully process all edges of the grid and fasteners protruding outward;
- make a mesh bottom in the rabbit hutch, and attach a retractable tray for feces under it;
- the gap between the sections must be covered with sheet metal.
As you can see, it is quite possible to make a rabbit hutch yourself, and even without the slightest experience. Do not be afraid to try – everything will work out. And rabbits will thank you with fast growth and beautiful fur.