
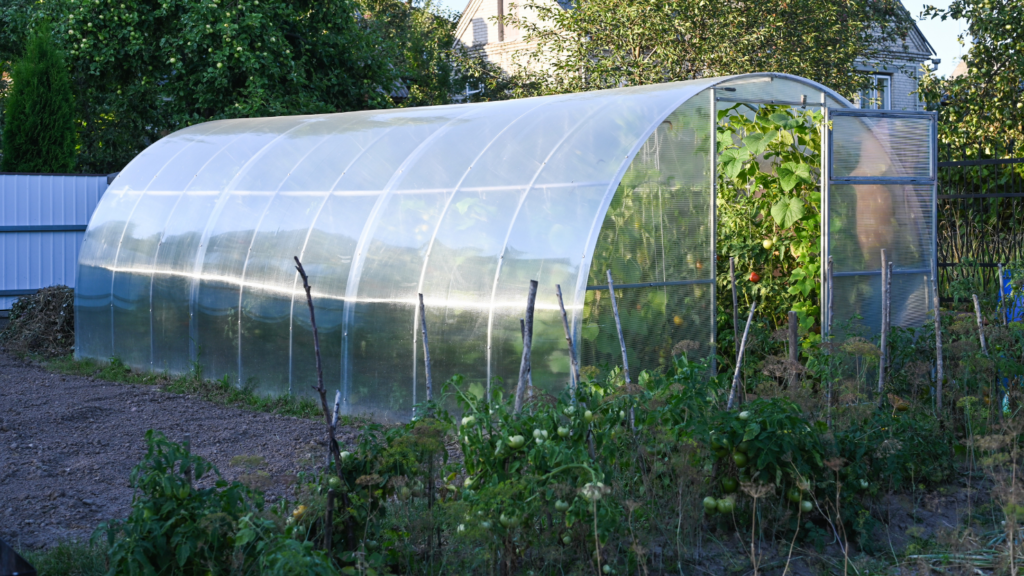
Installing a greenhouse on the homestead makes it possible to grow various vegetables, greens, and flowers. To achieve a positive result, you need to mount the structure correctly and place it in the most favorable place. One of the primary tasks is to choose the type of product. Polycarbonate greenhouses are the most popular. Let’s take a look at how to properly install a polycarbonate greenhouse to get a good harvest.
It is necessary to choose the right place for the location of the greenhouse. Here it is necessary to take into account several factors at once, such as: the quality of the soil, the features of the relief, the proximity of economic communications, household buildings, as well as bushes and trees. In this way, you can create comfortable conditions for the growth and development of various types of plants.
Soil composition
On too soft soils, the structure of the greenhouse sags and tilts. The strength of the constituent elements decreases, due to which deformations and cracks appear. There may also be difficulties with opening doors and rooms for ventilation. It is better to place the greenhouse on an area with fairly dense soil, otherwise a foundation is additionally laid under it.
Not the best option for a greenhouse and clay soils. When watering, they retain moisture for a long time, and such an environment is harmful for most crops. The optimal composition of the soil will be such that the fertile area alternates with a sandy layer.
You can create such conditions yourself. To do this, you need to completely remove the layer of clay, make high-quality drainage, and then pour a layer of sand and fertile soil on top.
Choosing a place
A sufficient amount of natural light can be obtained by plants if the greenhouse is placed lengthwise from west to east, so that its side faces the south or southeast side. Thanks to this, the process of photosynthesis is activated, the seedlings will receive the maximum amount of vitamins and substances necessary for growth.
If almost the entire area is in the shade, then it is better to install the greenhouse in an area that is well lit by the sun in the morning hours. This will make it possible to warm up the greenhouse well and maintain comfortable conditions even at night.
In the hottest months, an excess of ultraviolet rays can cause burns on the leaves. If you choose a greenhouse that has double UV protection, then you will not have to install an additional canopy.
The greenhouse should not be placed near:
- tall buildings;
- fences;
- old trees with sprawling crowns.
The latter will constantly hide the building from light, you will have to use phytolamps more often. Branches of large trees, in addition to being a shield from light, will hit the structure’s covering during windy weather and can damage it. Overgrown bushes are best uprooted or moved to another location.
You should also not install a greenhouse near the house. In addition to the fact that housing can overshadow the construction, snow will fall from the roof in winter, which will create a load on the structures and cover the plants from the sun.
Features of the landscape
To place the greenhouse, it is necessary to choose a flat surface with hard soil. Experienced summer residents install polycarbonate structures on the hill to prevent possible spring flooding. If the area is located in a lowland, it must be strengthened with an additional layer of soil.
Before installing a greenhouse, it is necessary to analyze the direction of the wind. Strong cold gusts provoke serious heat transfer. A small fence or hedge will help protect against this. The main condition is that they do not block the light. Their main task is to disperse air currents, which will reduce wind speed.
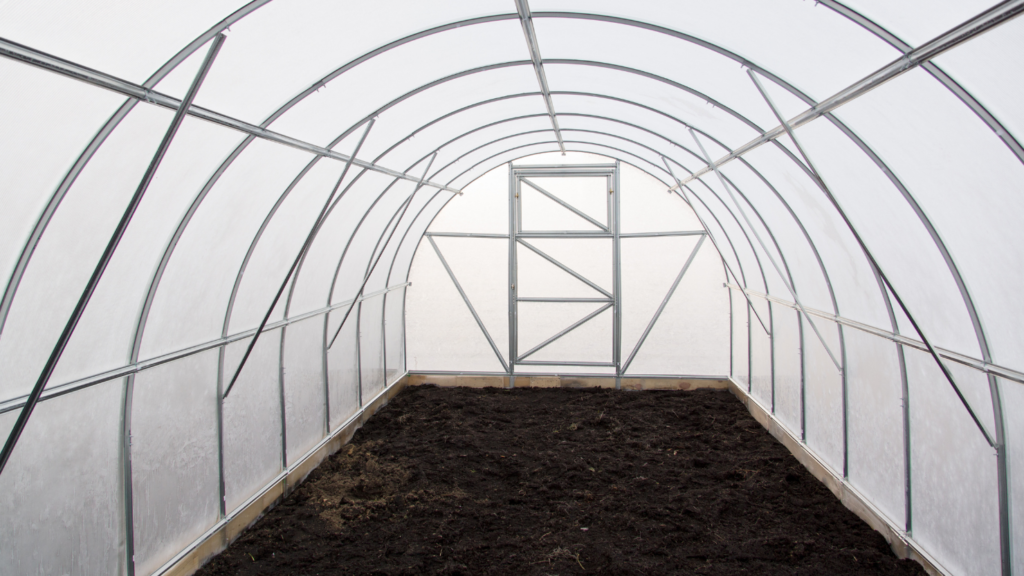
Installation process
- First, the foundation must be laid. Its size is determined by the dimensions of the greenhouse, for example, the length of the greenhouse is 4 m, and the width is 3 m, then you need to take 4 beams: 2 4 m long and 2 3 m long. Parts of the foundation are fastened together with the help of metal corners and self-tapping screws.
- Fasten the polycarbonate sheets at the ends with self-tapping screws and cut off the excess part. To increase the service life of polycarbonate and give it a more aesthetic appearance, we suggest purchasing a set of silicone thermal washers that will cover the places where the self-tapping screws are attached.
- Open honeycombs on the sides, where the polycarbonate was cut off, are recommended to be protected using a special polycarbonate protection kit, which includes a perforated tape and a plastic end profile. This will help protect the material from dirt, moisture and insects.
- First, the cut edges are taped to close the open honeycombs, and a sealant is put on top to secure the tape.
- To ensure a hermetic connection between the ends and the roof, we recommend using a rubber end seal, which is attached on top of the end in an arc.
- Assembly of the frame begins with the connection of 2 starting lines and an arc. The straight ones are fixed on both sides of the arc, which allows it to be fixed in a vertical position.
- The second arch, the upper longitudinal guide and the third arch are installed.
- We connect the side line with the starting guide. For this, the starting line is disconnected from the arc, a side guide is inserted into it, and the whole structure is reattached to the arc.
- After that, the remaining arcs and the end, which is connected to the side lines, are installed. Also, the end is additionally attached to the foundation with the help of corners.
- The lower line is installed, which is located a few centimeters from the foundation.
- Each arch is attached to the foundation with the help of corners.
- We install the second side line and fasten the second end in the same way as the first.
- Polycarbonate sheets are laid on the roof. We also recommend protecting them with perforated tape and plastic seals.
- Cut the polycarbonate around the perimeter of the door using a utility knife. We install the handle on the door.
- To install the panel over the door, it is necessary to cut through the polycarbonate along its entire perimeter, remove the panel from the hinges, install the end profile on the top and bottom of the panel, as well as on the upper part of the door, fix the polycarbonate on the panel with self-tapping screws and fasten it back.
A greenhouse in the country is a guarantee of a year-round bountiful harvest. If the area allows, you can install several structures at once. With the right choice of location and compliance with the subtleties of installation, the greenhouse will last for many years and will delight with its practicality and functionality.